Introduction
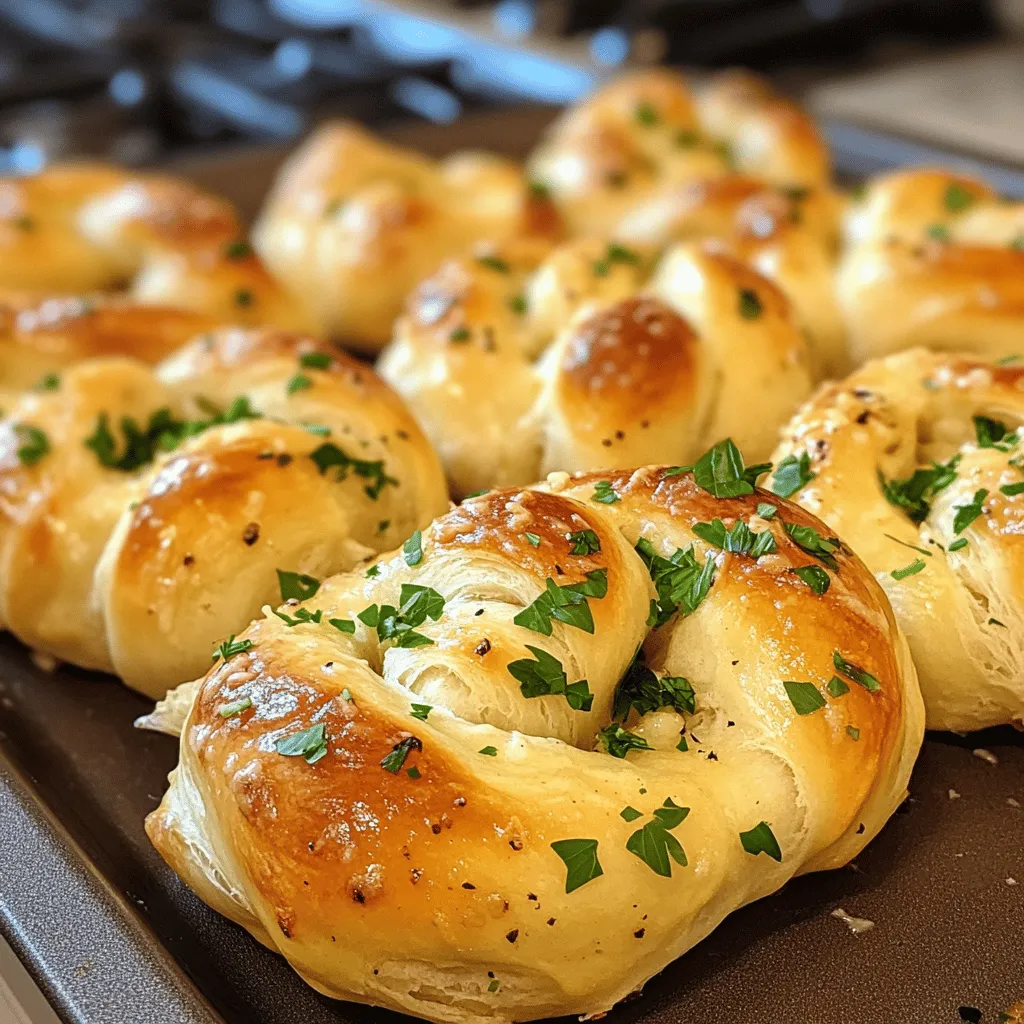
Garlic knots are a beloved staple in many Italian-American households, often served as an appetizer or snack that never fails to impress. These delightful bites are characterized by their soft, chewy texture and the irresistible aroma of garlic-infused butter. Whether you’re enjoying them with a plate of pasta or as part of a casual gathering, garlic knots bring warmth and comfort to any meal. The satisfaction of creating this dish from scratch is unparalleled, as the combination of fresh ingredients and your own culinary skills come together to produce a truly delectable treat.
In this recipe, we’ll explore the steps to make homemade garlic knots that are perfect for sharing with family and friends. The beauty of making these knots at home lies in the ability to customize them to your liking, whether you prefer them super garlicky, lightly seasoned, or generously topped with cheese. As we dive into the recipe, you’ll learn about the origins of garlic knots, the nutritional benefits of the ingredients, and the step-by-step process to create these delicious morsels that will quickly become a favorite in your home.
Understanding Garlic Knots
Garlic knots have their roots in the vibrant Italian-American culinary tradition, where they were born out of the need to utilize leftover pizza dough. This creative approach not only minimized waste but also gave rise to a delicious snack that has since become a celebrated dish in pizzerias across the United States. The process of tying the dough into knots was a simple yet effective way to create a unique appetizer that pairs perfectly with marinara sauce or a tangy dipping sauce.
The appeal of garlic knots goes beyond their humble beginnings; they are now a popular choice for gatherings, parties, and family dinners. Their bite-sized nature makes them easy to share, and their comforting flavors evoke a sense of nostalgia for many. Perfect for dipping, these knots are often served alongside pasta dishes, salads, or simply enjoyed on their own.
From a nutritional standpoint, garlic knots can offer several health benefits, thanks to their key ingredients. Whole wheat flour (or all-purpose flour) provides essential carbohydrates needed for energy, while garlic is known for its numerous health benefits, including immune-boosting properties and cardiovascular health. Olive oil, a staple in Mediterranean cuisine, is rich in healthy fats and antioxidants. Fresh parsley not only adds a pop of color but also contains vitamins A, C, and K, which contribute to overall health. When enjoyed in moderation, garlic knots can be a delicious addition to a balanced diet.
Ingredients Breakdown
To create the perfect homemade garlic knots, you will need a handful of essential ingredients, each playing a crucial role in the flavor and texture of the final product.
1. All-Purpose Flour: This is the foundation of your dough, providing structure and chewiness. All-purpose flour has enough protein content to create a sturdy dough that can hold its shape while baking.
2. Active Dry Yeast: The star of the show when it comes to dough rising, yeast is a living organism that ferments sugars and produces carbon dioxide gas. This process creates air pockets in the dough, leading to a light and fluffy texture in your garlic knots.
3. Warm Water and Sugar: The warm water is essential for activating the yeast, as it provides the ideal environment for fermentation. A small amount of sugar is added to feed the yeast, ensuring it activates effectively and helps the dough rise.
4. Olive Oil: Not only does olive oil enhance the flavor of the knots, but it also contributes to the texture, making the dough softer and more pliable. It also adds healthy fats to the dish.
5. Garlic and Butter: These two ingredients form the heart of the recipe. The combination of melted butter and minced garlic creates a flavorful topping that is generously brushed over the knots before serving. Garlic is not only aromatic but also packed with health benefits, making it a perfect addition.
6. Fresh Parsley and Red Pepper Flakes: Fresh parsley adds a vibrant touch and a hint of freshness, while red pepper flakes provide a mild heat that enhances the overall flavor profile of the knots. Both ingredients can be adjusted to suit your taste preferences.
7. Grated Parmesan Cheese: While optional, adding grated Parmesan cheese to your garlic knots can elevate their flavor significantly. The salty, umami-rich cheese complements the garlic and butter beautifully, making these knots even more irresistible.
Step-by-Step Instructions
Now that we’ve covered the ingredients, it’s time to dive into the step-by-step instructions for making your homemade garlic knots. Following these guidelines will ensure that your knots turn out perfectly every time.
Activating the Yeast
The first step in making your garlic knots is to activate the yeast. This is a critical process that ensures your dough will rise properly, resulting in fluffy knots.
1. Prepare the Warm Water: Begin by heating about 1 cup of water until it is warm to the touch, but not boiling. The ideal temperature for activating yeast is between 100°F and 110°F (37°C to 43°C). If you don’t have a thermometer, test the water with your finger— it should feel warm but not hot.
2. Combine Ingredients: In a mixing bowl, add the warm water, 1 tablespoon of sugar, and 2 ¼ teaspoons (one packet) of active dry yeast. Stir gently to combine, then let the mixture sit for about 5 to 10 minutes. You should see bubbles forming and the mixture frothing, indicating that the yeast is active.
Making the Dough
Once your yeast is activated, it’s time to make the dough. This step involves combining the ingredients effectively to create a smooth and elastic dough.
1. Mix the Dry Ingredients: In a separate large mixing bowl, combine 3 to 4 cups of all-purpose flour and 1 teaspoon of salt. Mix well to ensure that the salt is evenly distributed throughout the flour.
2. Combine Wet and Dry Ingredients: Once your yeast mixture is frothy, add 2 tablespoons of olive oil to the yeast mixture. Then, pour the wet ingredients into the bowl with the flour mixture. Using a wooden spoon or spatula, mix until a shaggy dough begins to form.
3. Knead the Dough: Transfer the dough onto a lightly floured surface. Knead the dough by folding it over itself and pressing it down with the heel of your hand. Rotate the dough a quarter turn and repeat the kneading process. Knead for about 8-10 minutes until the dough is smooth and elastic. If the dough is too sticky, add a little more flour as needed.
4. First Rise: Shape the kneaded dough into a ball and place it in a lightly greased bowl, turning it to coat all sides with oil. Cover the bowl with a clean kitchen towel or plastic wrap and let it rise in a warm place until it has doubled in size, approximately 1 to 1.5 hours.
This initial rising process is where the magic happens, as the yeast ferments and creates air pockets within the dough, leading to the fluffy texture that makes garlic knots so enjoyable.
As you wait for the dough to rise, you can prepare your garlic butter mixture and gather any additional toppings you wish to use. Stay tuned for the next steps, where we will shape the dough into knots and bake them to golden perfection.
Kneading the Dough: How to Knead Properly for the Best Texture
Kneading is a fundamental step in bread-making that develops gluten, giving your garlic knots their wonderful chewy texture. To begin, lightly flour your work surface and turn out the dough that has been resting in the bowl. Use the palms of your hands to push the dough away from you, then fold it back over itself. Rotate the dough a quarter turn and repeat the process. This method helps to evenly distribute the ingredients and incorporate air, which is crucial for a well-risen knot.
Knead for about 8-10 minutes until the dough becomes smooth and elastic. You should be able to stretch a small piece of dough without it tearing. If the dough feels too sticky, sprinkle a little more flour as needed, but be careful not to add too much; a slightly tacky dough is ideal for achieving that perfect garlic knot texture.
First Rise: The Science Behind Allowing the Dough to Rise
After kneading, it’s time for the first rise, also known as fermentation. Place your kneaded dough in a lightly greased bowl and cover it with a damp cloth or plastic wrap. This step allows the yeast to work its magic, producing carbon dioxide that makes the dough expand.
The ideal environment for this rise is a warm, draft-free area. Allow the dough to rise for about 1 to 1.5 hours or until it doubles in size. This process not only increases the volume of the dough but also enhances the flavor, as the yeast develops complex taste compounds. Patience is key during this stage—resist the urge to rush it!
Preparing Garlic Butter: Infusing Flavors and Tips for Best Results
While your dough is rising, you can prepare the garlic butter that will be brushed over the knots. In a small saucepan, melt ½ cup (1 stick) of unsalted butter over low heat. Once melted, add 4-5 cloves of minced garlic and cook just until fragrant, about 1-2 minutes. Avoid browning the garlic, as burnt garlic can impart a bitter taste.
For an added flavor boost, consider adding a pinch of salt, a sprinkle of crushed red pepper flakes for heat, and a tablespoon of chopped fresh parsley or dried Italian herbs. Once prepared, set the garlic butter aside to cool slightly. This infusion of flavors will elevate your garlic knots to the next level.
Shaping the Knots: Step-by-Step Guide to Achieving the Perfect Knot Shape
Once your dough has risen, it’s time to shape the knots. Begin by gently punching down the dough to release some of the gas. Turn it out onto a lightly floured surface and divide it into 12 equal pieces.
To shape each piece into a knot, take one piece of dough and roll it into a rope about 8-10 inches long. Form the rope into a U shape, then cross the ends over each other and tuck them underneath the loop. Place the shaped knot onto a parchment-lined baking sheet. Repeat this process for all pieces of dough. The knots can be slightly uneven—each one will have its own rustic charm.
Second Rise: Importance of This Step for Light and Airy Knots
After shaping, cover the knots with a clean towel and allow them to rise again for about 30 minutes. This second rise is crucial for creating light and airy garlic knots. It allows the yeast to reactivate and the dough to relax, making the knots tender and fluffy after baking.
During this time, you can preheat your oven to 375°F (190°C), ensuring that it reaches the perfect temperature for baking.
Preheating the Oven: Why Proper Oven Temperature is Critical
Proper oven temperature is crucial for achieving the right texture in your garlic knots. An oven that is too hot can cause the outside to brown too quickly while leaving the inside undercooked, while a cooler oven may result in pale, doughy knots.
For this recipe, preheating your oven to 375°F (190°C) is ideal. This moderate heat ensures that your knots will rise properly before the crust forms, leading to a beautifully golden-brown exterior with a soft, fluffy interior.
Baking the Knots: Signs to Look for to Ensure Perfect Golden-Brown Knots
Once your oven is preheated and your knots have completed their second rise, it’s time to bake. Place the baking sheet in the oven and bake for 15-20 minutes, or until they are golden brown. Keep an eye on them during the last few minutes—ovens can vary, and you don’t want to risk overbaking.
A good visual cue for doneness is a deep golden color and a light crust. If you tap the bottom of a knot, it should sound hollow, indicating that they are fully cooked inside.
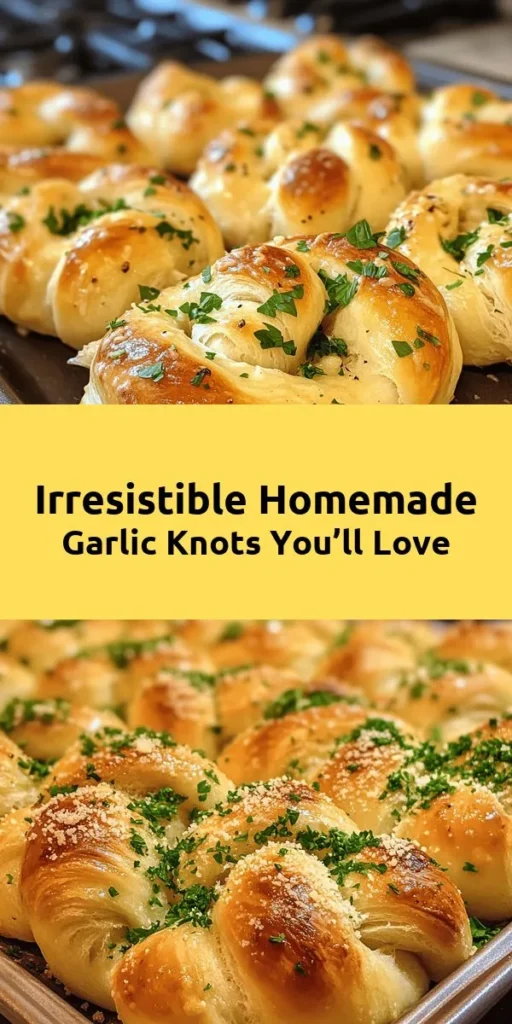
Finishing Touches: How to Apply Garlic Butter and Optional Garnishes Effectively
Once the garlic knots are out of the oven, immediately brush them generously with the prepared garlic butter. The heat from the knots will help absorb the butter, enhancing their flavor. Don’t forget to use a pastry brush for an even application!
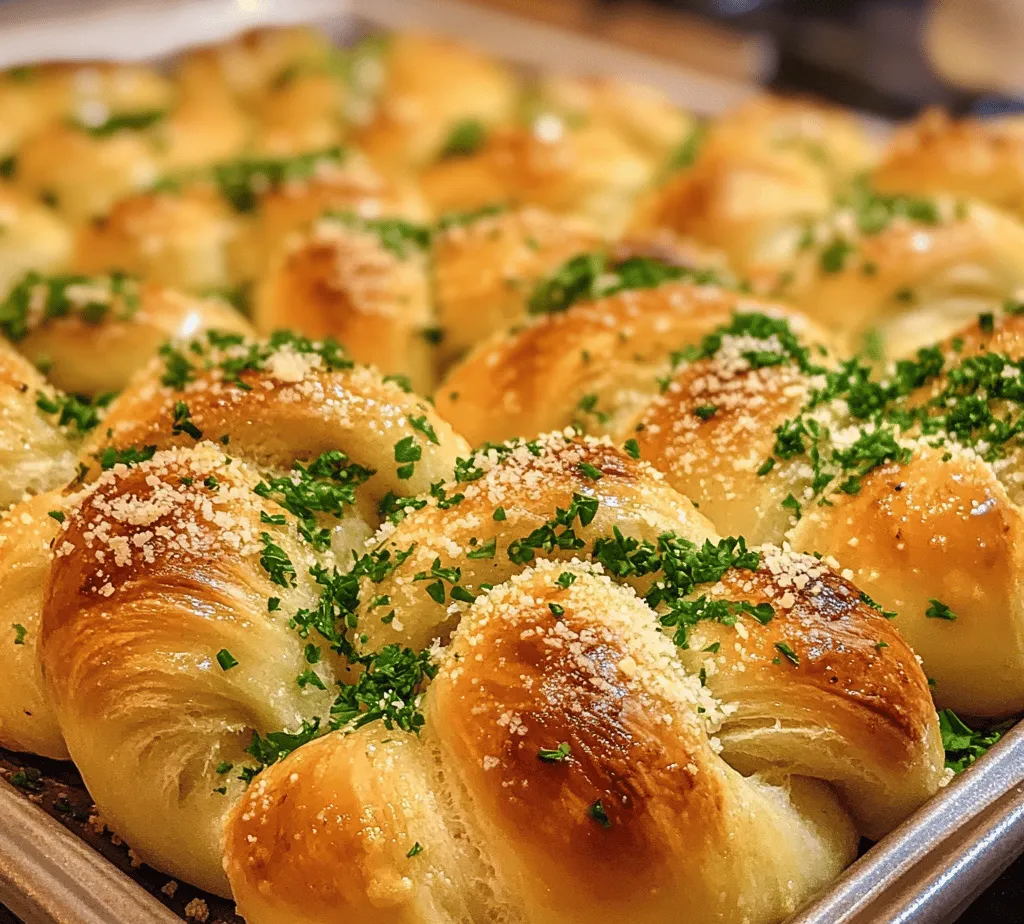
For an extra touch, sprinkle the knots with freshly chopped parsley for color and flavor, or add grated Parmesan cheese for a savory twist. Allow them to cool slightly before serving to avoid burned fingers.
Serving Suggestions: Ideal Pairings and Presentation Ideas
Garlic knots are incredibly versatile and can be served in various ways. They make a great appetizer, a side dish to pasta dishes, or even as a snack on their own. Consider pairing them with marinara sauce for dipping, or serve them alongside your favorite Italian dishes like spaghetti or lasagna.
For presentation, arrange the knots in a basket lined with a clean cloth or on a rustic wooden board. Sprinkle with additional herbs or cheese for an elegant touch.
Tips for Perfect Garlic Knots
– Adjustments for Altitude and Humidity: If you live at a high altitude, you may need to adjust the amount of flour and liquid in your recipe. Humidity can also affect dough consistency; during humid days, you might want to reduce the liquid slightly to prevent overly sticky dough.
– Common Mistakes to Avoid During the Preparation Process: Avoid over-kneading the dough, which can lead to tough knots. Also, ensure that your yeast is fresh, as expired yeast will not rise properly. Lastly, don’t rush the rising times; they are essential for flavor and texture.
– Storage Instructions for Leftovers and Reheating Methods: Store leftover garlic knots in an airtight container at room temperature for up to 2 days. For longer storage, wrap them in plastic wrap and freeze for up to 3 months. To reheat, place them in a preheated oven at 350°F (175°C) for about 10 minutes, brushing them again with garlic butter if desired.
The Joy of Homemade Garlic Knots
Making garlic knots is not only a delightful culinary project but also a wonderful opportunity to create lasting memories in the kitchen. I still remember the first time I attempted these knots; the aroma of garlic and butter wafting through the house filled everyone with anticipation. Sharing the finished product with family was a joyful experience, filled with laughter and compliments.
Encouraging readers to experiment with their own variations can lead to even more delightful experiences. Consider adding fresh herbs like rosemary or thyme to the dough, or incorporating cheese into the center of the knots for a gooey surprise. The beauty of homemade garlic knots is that they are versatile and can be tailored to your tastes.
The sensory experience of making them—kneading the dough, shaping the knots, and the intoxicating aroma as they bake—creates a connection to the food that is unique and rewarding.
Conclusion
Homemade garlic knots bring a sense of satisfaction and joy that is hard to replicate. With simple ingredients and a bit of patience, you can create a delicious treat that is both comforting and impressive. The ease of the recipe makes it accessible for cooks of all levels, and the results are sure to delight.
As you embark on your garlic knot-making journey, I invite you to share your experiences and any variations you try. Each batch can be a little different, and that’s part of the fun! Enjoy the process, savor the flavors, and embrace the joy of creating something from scratch. Your kitchen awaits a delicious adventure!
